

A backwater valve can be the small device that keeps a city sewer backup from turning into a ruined basement. But it only helps when the flap can move freely and seal properly. Knowing how to test a backwater valve gives homeowners a practical way to catch obvious problems before the next hard rain, spring thaw, or overloaded sewer line puts the property at risk.
For homes across Toronto, Mississauga, and the GTA, this is not a one-time check after installation. Older drains, roots, grease, debris, and long periods without maintenance can all affect valve performance. A quick seasonal inspection is smart. A professional inspection is the safer choice if you see sewage odors, slow drains, basement water, or any sign the valve may already be compromised.
What a Backwater Valve Is Supposed to Do
A backwater valve is installed on a property’s main sewer line. Under normal conditions, wastewater from toilets, sinks, showers, and laundry drains flows out toward the municipal sewer. Inside the valve, a flap or gate opens in that direction.
When the public sewer becomes overloaded, wastewater can try to reverse direction and enter the home through the same pipe. The valve’s flap is designed to close against that reverse flow. In simple terms, it is a one-way door for your drainage system.
That protection comes with a trade-off. When the valve is closed because of a true sewer surcharge, water from inside the home cannot drain out through that line either. Avoid flushing toilets, running the dishwasher, doing laundry, or taking showers until the municipal sewer level drops and the valve reopens. Forcing more water into a closed system can create an indoor backup.
How to Test a Backwater Valve Safely
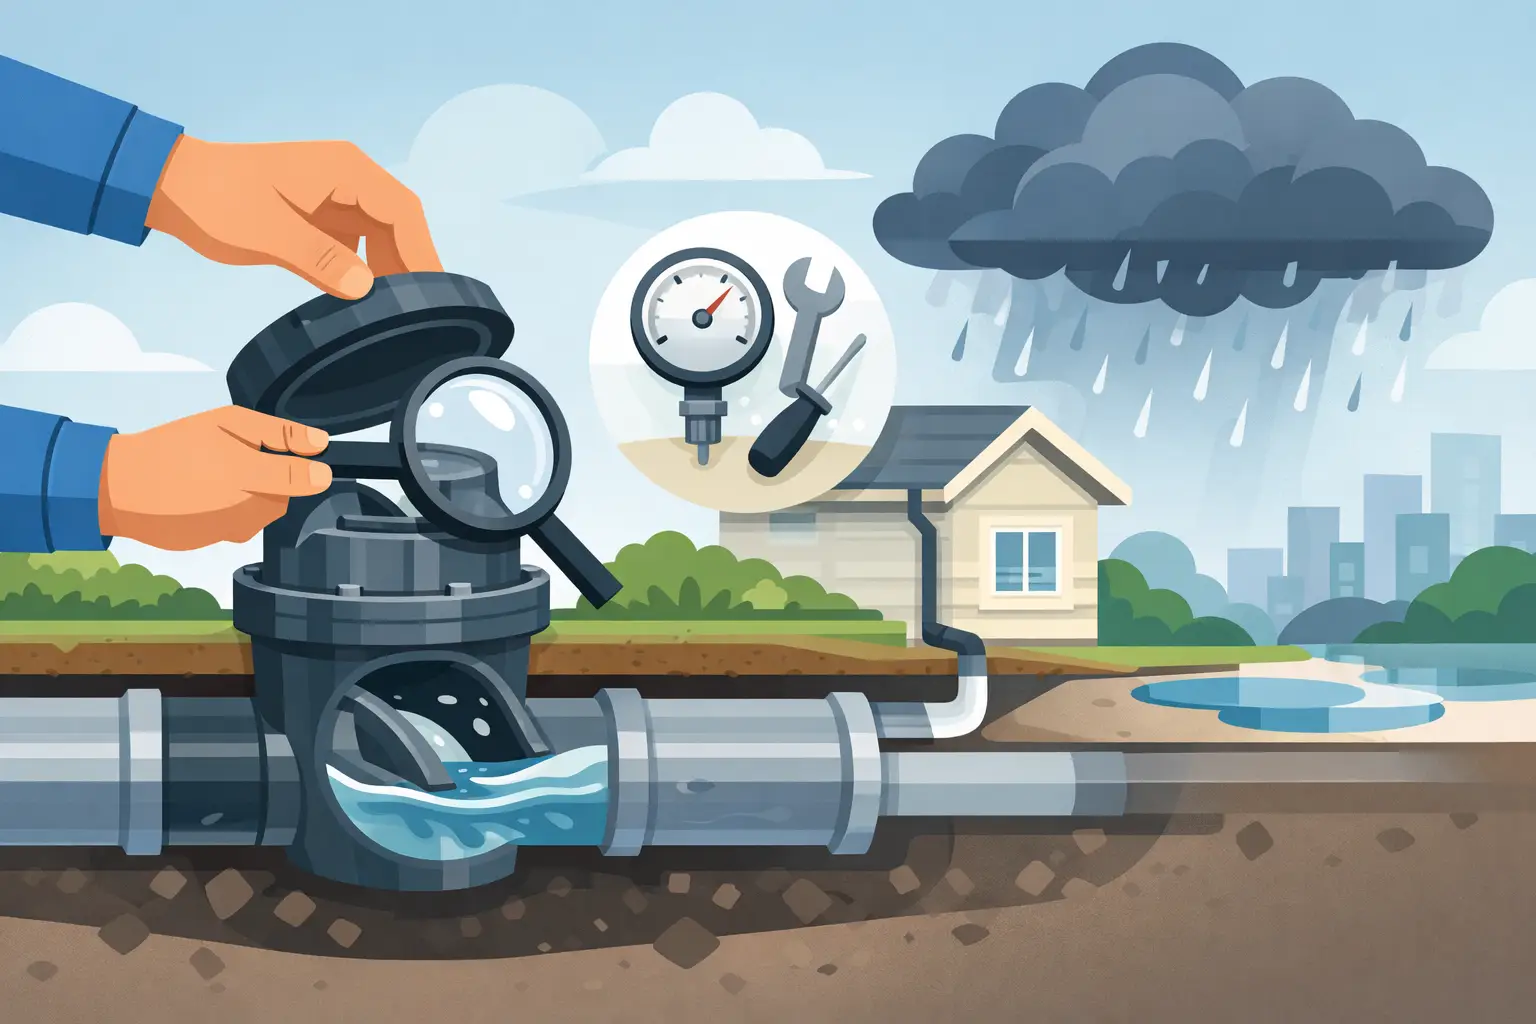
Most residential backwater valves have an access cover in the basement floor, utility room, crawl space, or outside cleanout area. The cover may be round or rectangular and is often labeled. If you are unsure whether you have a backwater valve, do not start opening drain covers at random. A licensed plumber can identify the system quickly.
Before opening the access cover, make sure no fixture is draining and ask everyone in the home not to use water for a few minutes. Put on gloves and have a flashlight, rags, and a small container ready. There may be minor moisture or odor around the valve, but standing sewage is a warning sign that needs professional attention.
1. Remove the Cover and Check for Debris
Open the access cover carefully. Look inside for toilet paper, wipes, hair, grease buildup, construction debris, or anything caught near the flap. Even products labeled “flushable” can collect in drain components and interfere with moving parts.
Do not reach deeply into the pipe or use sharp tools to scrape the valve. If debris is sitting on top and can be removed easily, clean it away. If the valve is coated in buildup, blocked, or difficult to access, stop there. A drain professional can clean it without damaging the valve body or seal.
2. Inspect the Flap, Gate, and Seal
Use a flashlight to inspect the moving flap or gate. It should sit flat when closed and should not appear cracked, warped, loose, or heavily corroded. Check the surrounding gasket or seal for visible damage.
On many models, you can gently lift the flap by its handle or edge and let it return to its resting position. It should move without sticking and settle back into place smoothly. Do not force it open. A stiff flap may be caused by debris, a damaged hinge, a worn seal, or a problem farther down the sewer line.
Some valves use a removable insert or a more enclosed gate design. The inspection method varies by manufacturer, which is one reason a professional service visit can be worthwhile. Removing parts incorrectly can create a leak path or leave the valve unable to close during the next backup.
3. Check for Evidence of Recent Backflow
Look for staining, residue, sewage paper, or moisture above the normal flow channel. These can indicate that wastewater has risen into the valve during a previous storm or sewer event. A foul smell that remains after the cover is cleaned can also point to a drainage issue or a failed seal.
A clean-looking valve is encouraging, but it is not proof that the whole sewer line is healthy. A partially blocked main drain can cause slow drainage and pressure changes that affect how the valve performs. If your home has recurring clogs, gurgling fixtures, or a basement floor drain that backs up, a camera inspection can show what is happening in the pipe.
4. Restore the Cover Properly
Once the flap area is clear and the valve appears to move freely, replace the access cover securely. The cover helps contain odors and prevents debris from dropping into the valve. Wipe the surrounding floor clean so you can spot fresh moisture later.
Afterward, run a small amount of water from one fixture and watch for unusual bubbling, slow drainage, or leakage around the cover. Do not perform a high-volume test by filling tubs, flushing repeatedly, or running several appliances at once. That does not simulate a municipal sewer backup, and if there is already a restriction in the line, it can create a mess inside the home.
What a Home Check Cannot Confirm
A visual inspection is useful, but it cannot certify that a backwater valve will hold against a major sewer surge. It also cannot reveal a cracked underground pipe, tree roots near the main line, a shifted connection, or a valve installed at the wrong angle.
A licensed plumber can inspect the valve’s condition, confirm its placement, and use a sewer camera to examine the main drain. Camera work is especially valuable for older GTA homes, properties with finished basements, and houses that have had sewer backups or root-related clogs before. The goal is not just to see the valve. It is to make sure the entire drainage path is working as intended.
Call for service promptly if the flap will not move, does not close flat, is cracked, or repeatedly has debris caught in it. You should also call if sewage is visible, drains are backing up, toilets gurgle, water comes up through a basement floor drain, or the valve cover leaks. These are not wait-and-see problems. Sewer water can damage flooring, drywall, insulation, furniture, and the air quality in a finished basement.
When to Inspect Your Backwater Valve
For most homes, inspect the valve at least once a year and before the season when heavy rain is most likely. Spring is a common time because snowmelt, frozen ground, and intense rainfall can put extra pressure on municipal systems. A second inspection before fall storms is sensible for homes with a history of water problems.
Check it sooner after a sewer backup, a major storm, drain cleaning, basement renovation, or any plumbing work involving the main line. Renovation debris is an overlooked risk. Small pieces of grout, concrete, drywall compound, or packaging can find their way into drains and obstruct moving parts.
If your household uses a lot of wipes, disposable cleaning products, or grease-heavy cooking, more frequent checks may be necessary. The best prevention is simple: only toilet paper and human waste should go down the toilet, and cooking grease belongs in a container, not the kitchen sink.
Protect the Basement Beyond the Valve
A backwater valve is a strong layer of protection, not a complete waterproofing system. It protects against wastewater pushing back from the sewer. It does not stop groundwater from entering through foundation cracks, window wells, failed weeping tile, or poor exterior grading.
That distinction matters when diagnosing a wet basement. Clear rainwater near a wall may point to a waterproofing or drainage issue. Dark, foul-smelling water rising from a floor drain is more likely a sewer problem. Some properties need both solutions: a properly maintained backwater valve for sewer backup protection and a sump pump, drainage improvements, or foundation waterproofing to manage groundwater.
Water Pro Master Corp helps property owners identify which problem they actually have before recommending a repair. With licensed plumbing diagnostics, camera inspections, drain service, and basement water solutions in one place, the focus stays on a clean, durable fix with no surprises.
A five-minute look at your valve is worthwhile, but trust what you see. If the flap sticks, the cover leaks, or the basement drain behaves differently during rain, arrange an inspection before the next storm decides the timing for you.